Installation Instructions for
Ford GT Billet Parts
For your convenience, we've posted installation instructions for the Ford GT Billet Parts you can order from this site.
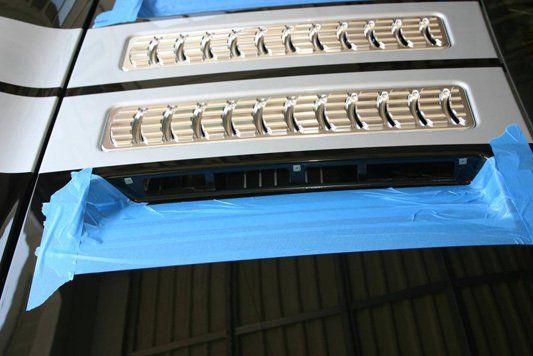
Installing Ford GT Billet Side Vents
Here are a couple of notes to make the side vents installation go without a hitch.
- Make sure to blue tape up the area shown before doing anything.
- Remove the three philips screws from each vent and set vent aside.
- Set the new vent in place making sure the two bottom tabs are in place.
- Using a 5/64" ball allen wrench (ball allen wrench is recommended) or a regular 5/64" allen wrench, start the three bolts provided and tighten them making sure to adjust the vent so that it is square to the clamshell. NOTE: The fasteners on the clamshell are plastic so there is no need to over tighten (snug is good).
- Pull away the blue tape and you are done.
Installing Ford GT Billet Braces
These are very simple to install. Just be careful of the rear glass when using a ratchet to remove and install the braces. (Be VERY CAREFUL not to let the ratchet slip as you don't want to break any glass!!!!!!) Also a little blue tape on the braces for protection would be a great idea. You will have 6 bolts on each side taking no longer than 1/2 hour to complete the whole job. I would lay down a blanket across the engine compartment to protect you from scratching other components as well as a good safety net just in case you drop a nut, bolt, or washer. Removing the belly pans for a washer will triple the installation time.